
If you have an email address on your company's domain, such as contact@your-domain.com, you can use it on iPhone in Mail, Gmail or Outlook for iOS. For most hosting-based addresses, the correct setup uses IMAP for incoming mail and SMTP for outgoing mail.
In brief: use the full email address as the username, the server
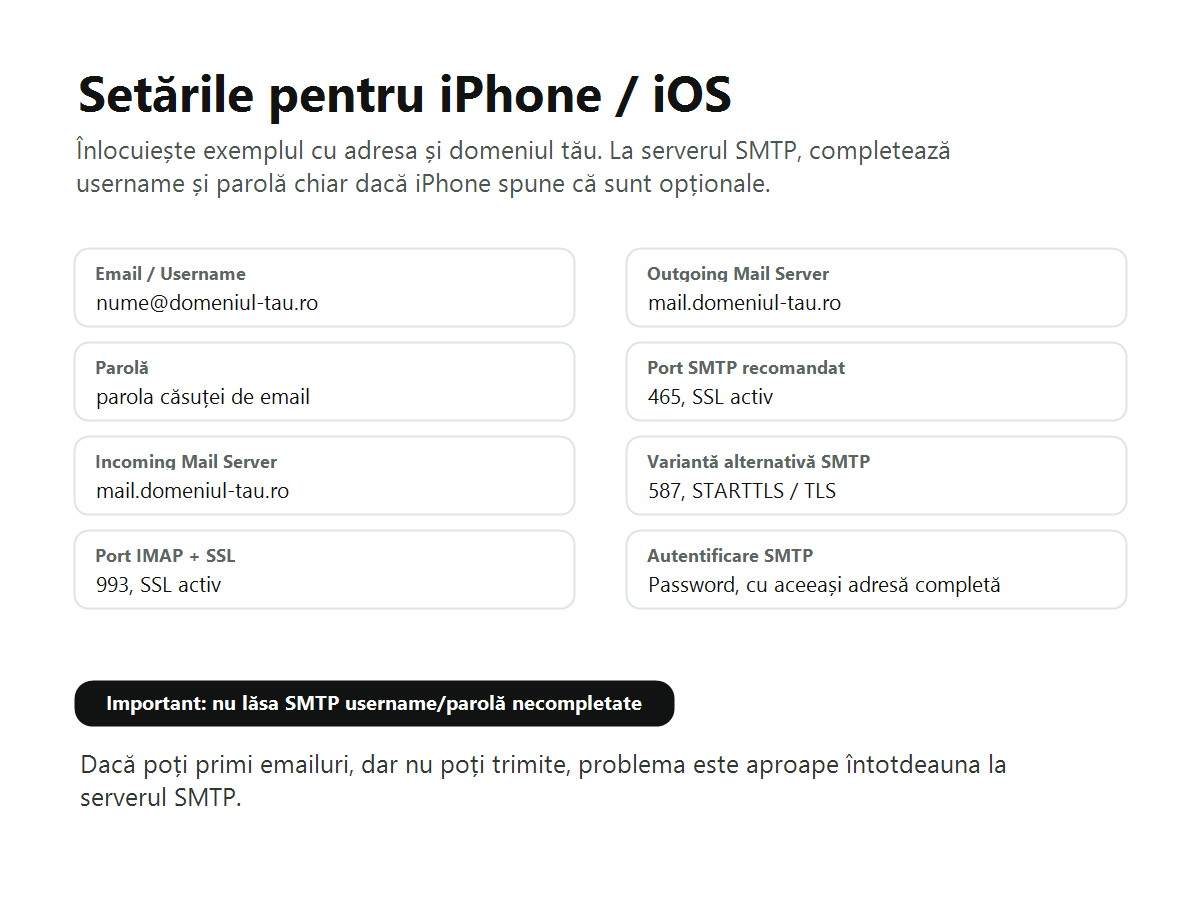
mail.your-domain.com, IMAP on port993with SSL enabled and SMTP on port465with SSL enabled. If port 465 does not work, use port587with STARTTLS/TLS.
Information to have ready
You need the full email address and the mailbox password. Do not use the iPhone password, WordPress password, cPanel password or Apple ID password.
| Field | What to enter |
|---|---|
| Email address | name@your-domain.com |
| Username | The full email address, not only the part before @ |
| Password | The mailbox password |
| Incoming Mail Server | mail.your-domain.com or the server provided by your service provider |
| IMAP port | 993 |
| SSL for IMAP | Enabled |
| Outgoing Mail Server (SMTP) | mail.your-domain.com or the server provided by your service provider |
| SMTP port | 465 with SSL or 587 with STARTTLS/TLS |
| SMTP authentication | Password, using the same full address and password |
Mail on iPhone
Mail is the native iPhone app. On iOS 18, the setup area is under Settings > Apps > Mail > Mail Accounts. On older iOS versions, the path may be Settings > Mail > Accounts.
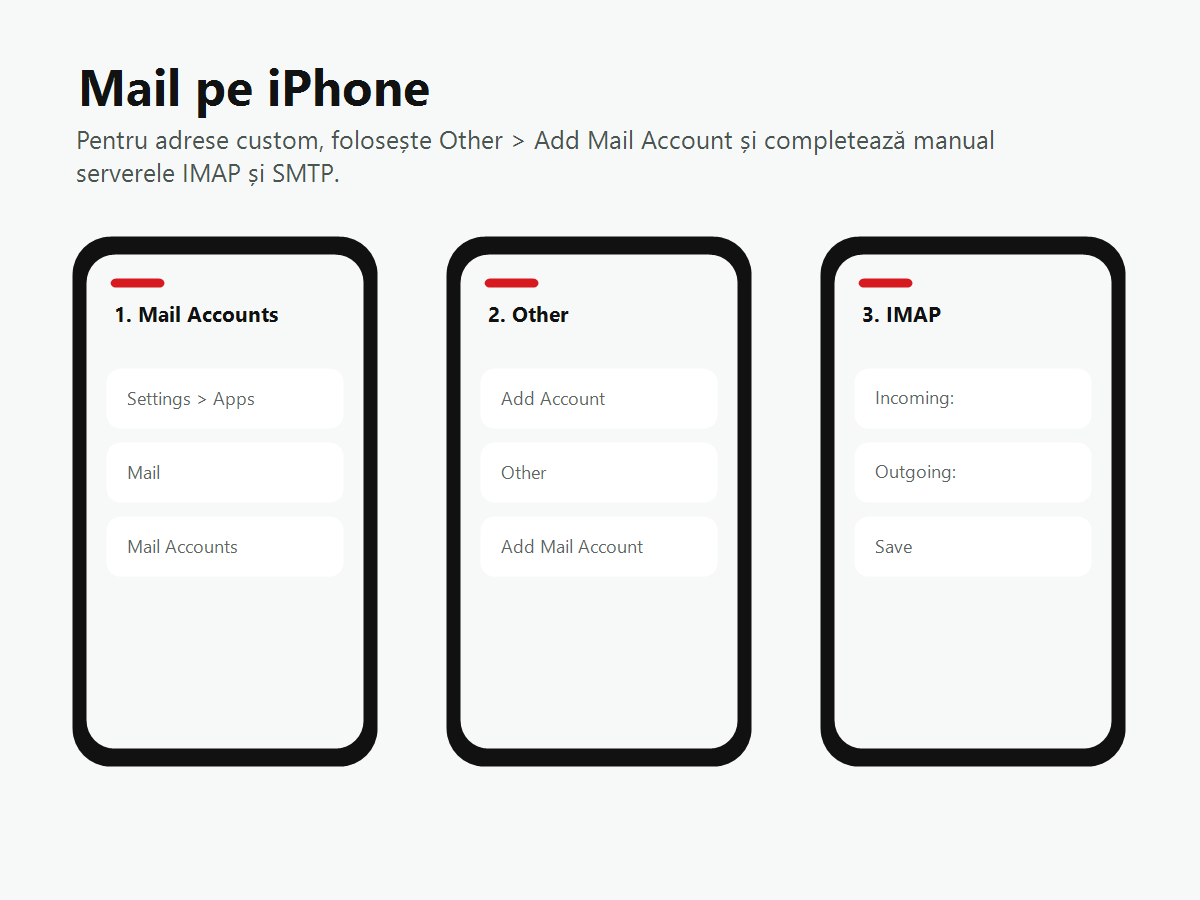
- Open Settings on the iPhone.
- Open Apps, then Mail, then Mail Accounts. If you have an older iOS version, look for Mail directly in Settings.
- Choose Add Account.
- Choose Other, then Add Mail Account.
- Complete the fields: Name = the name displayed for the sender, Email = the full address, Password = the mailbox password, Description = an easily recognizable name.
- Tap Next. If the iPhone does not detect the settings automatically, choose IMAP.
- Under Incoming Mail Server, enter Host Name =
mail.your-domain.com, User Name = full address, Password = mailbox password. - Under Outgoing Mail Server, enter Host Name =
mail.your-domain.com, User Name = full address, Password = mailbox password. - Tap Next, then Save.
Check the ports in Mail
If the iPhone saves the account but errors appear, open the newly created account again and check the advanced settings: use port 993 with SSL enabled for IMAP, and port 465 with SSL enabled for SMTP. If SMTP 465 does not work, try port 587.
Important: on iPhone, the SMTP server's User Name and Password fields may appear optional. Complete them anyway for business addresses. If you leave them blank, you can often receive email but cannot send it.
Gmail on iPhone
Gmail for iOS can add a non-Gmail address through the Other (IMAP) option. This is useful if you want to see multiple accounts in one app.
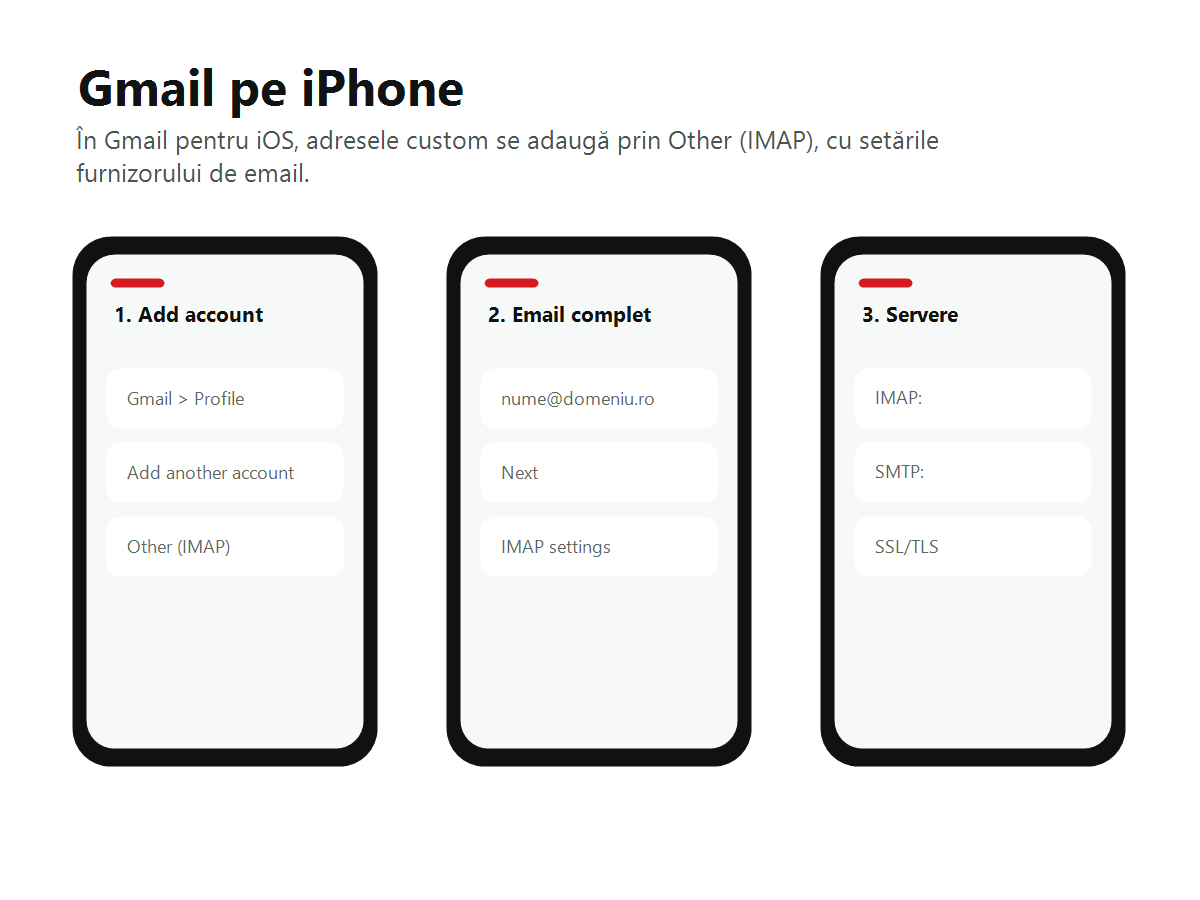
- Open the Gmail app.
- Tap the profile picture in the top-right corner.
- Choose Add another account.
- Choose Other (IMAP).
- Enter the full email address, then tap Next.
- Complete the IMAP settings: server =
mail.your-domain.com, port =993, security =SSL/TLS, username = full address, password = mailbox password. - Complete the SMTP settings: server =
mail.your-domain.com, port =465with SSL/TLS or587with STARTTLS/TLS, username = full address, password = mailbox password. - Complete the setup and check that the messages synchronize.
Outlook for iOS
Outlook sometimes tries to detect the provider automatically. If the address is a custom one, choose IMAP manually when the provider-selection screen appears.
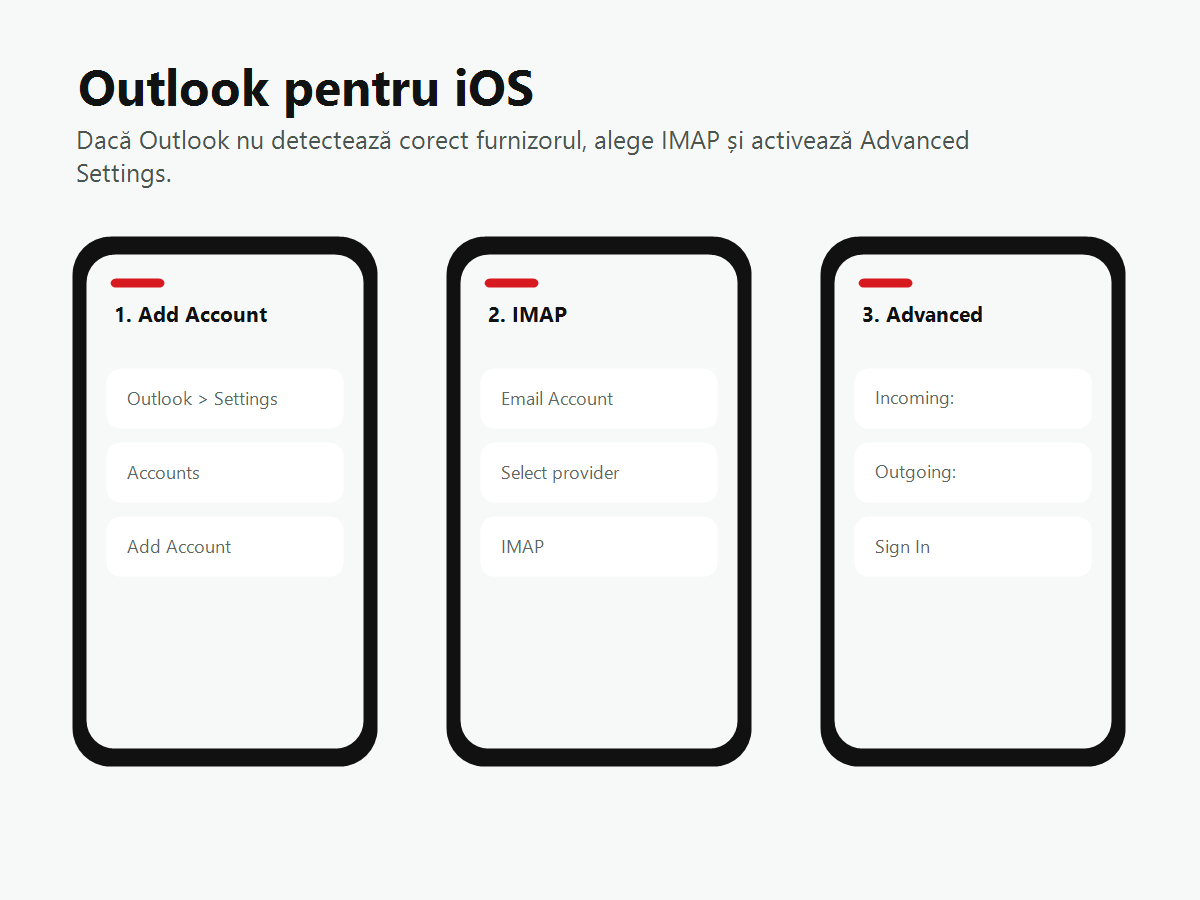
- Open the Outlook app.
- Open Settings, then Accounts.
- Choose Add Account, then Email Account.
- Enter the full email address and continue.
- If the provider-selection screen appears, choose IMAP.
- Enter the password and enable Use Advanced Settings if the option is available.
- For the incoming server, enter
mail.your-domain.com:993. If Outlook has a separate port field, enter the server without the port and enter port993separately. - For the outgoing server, enter
mail.your-domain.com:465. If that does not work, trymail.your-domain.com:587. - Use the full email address as the username for both incoming and outgoing mail. Use the mailbox password in the password field.
- Tap Sign In and send a test email.
What to do if it does not work
- You can receive email but cannot send it: check SMTP. Complete the SMTP username and password even if they appear optional.
- The iPhone says “Cannot Verify Server Identity”: the server being used does not match the SSL certificate. Use the exact server provided by the service provider.
- The password appears to be incorrect: test it in webmail. If it does not work there, the mailbox password must be reset.
- The account is saved but does not synchronize: check that you selected IMAP rather than POP.
- Outlook or Gmail detects another provider: look for the option to change provider and choose IMAP manually.
Our recommendation
On iPhone, Mail is usually the simplest option if you want iOS integration, while Gmail or Outlook are suitable if you already use them for other accounts. Regardless of the app, the rule remains the same: use the full address as the username, IMAP 993 with SSL and authenticated SMTP.