
If you have an email address on your company's domain, such as contact@your-domain.com, you can use it on Android in Gmail, Outlook or Samsung Email. For most hosting-based accounts, the correct approach is manual setup with IMAP for incoming mail and SMTP for outgoing mail.
In brief: use the full email address as the username, the server
mail.your-domain.com, IMAP on port993with SSL/TLS and SMTP on port465with SSL/TLS. If the app does not accept port 465, try port587with STARTTLS/TLS.
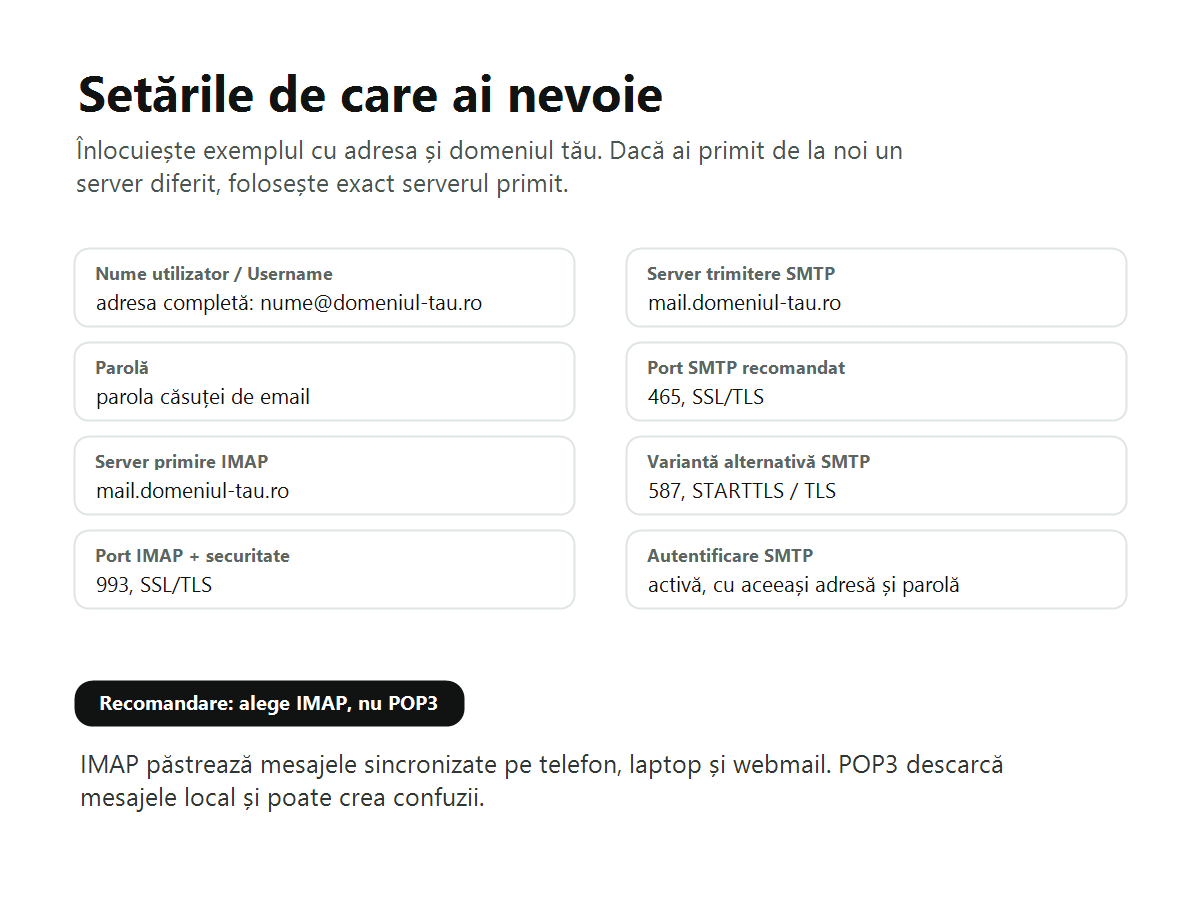
Information to have ready
Before starting the setup, make sure you have the full email address and the password for that mailbox. Do not use the WordPress password, cPanel password or phone password.
| Field | What to enter |
|---|---|
| Email address | name@your-domain.com |
| Username | The full email address, not only the part before @ |
| Password | The mailbox password |
| Incoming IMAP server | mail.your-domain.com or the server provided by your service provider |
| IMAP port | 993 |
| IMAP security | SSL/TLS |
| Outgoing SMTP server | mail.your-domain.com or the server provided by your service provider |
| SMTP port | 465 with SSL/TLS or 587 with STARTTLS/TLS |
| SMTP authentication | Enabled, using the same full address and password |
Gmail on Android
Gmail is one of the most widely used email apps on Android and can synchronize custom addresses through IMAP.
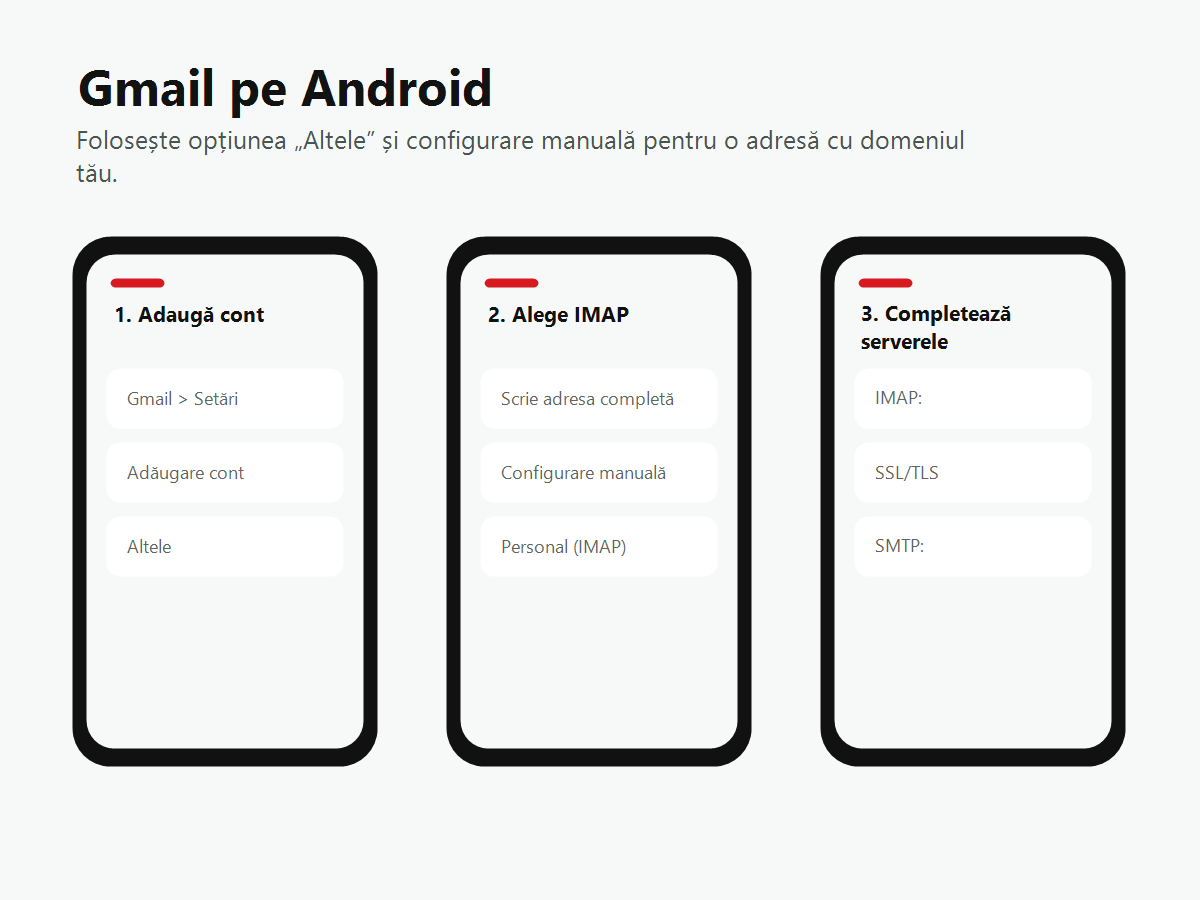
- Open the Gmail app.
- Tap the menu in the top-left corner, open Settings, then choose Add account.
- Choose Other.
- Enter the full address, for example
contact@your-domain.com. - Choose Manual setup, then Personal (IMAP).
- Enter the mailbox password.
- For the incoming server, enter: username = full address, server =
mail.your-domain.com, port =993, security =SSL/TLS. - For the outgoing server, enter: SMTP server =
mail.your-domain.com, port =465, security =SSL/TLS, authentication enabled, username = full address. - Choose the synchronization frequency and the sender name, then complete the setup.
If Gmail rejects SMTP port 465
Return to the outgoing-server settings and use port 587 with STARTTLS or TLS security. Keep SMTP authentication enabled.
Outlook for Android
Outlook sometimes tries to detect the provider automatically. For a custom address, check carefully that an IMAP account is selected rather than an incorrectly detected provider.
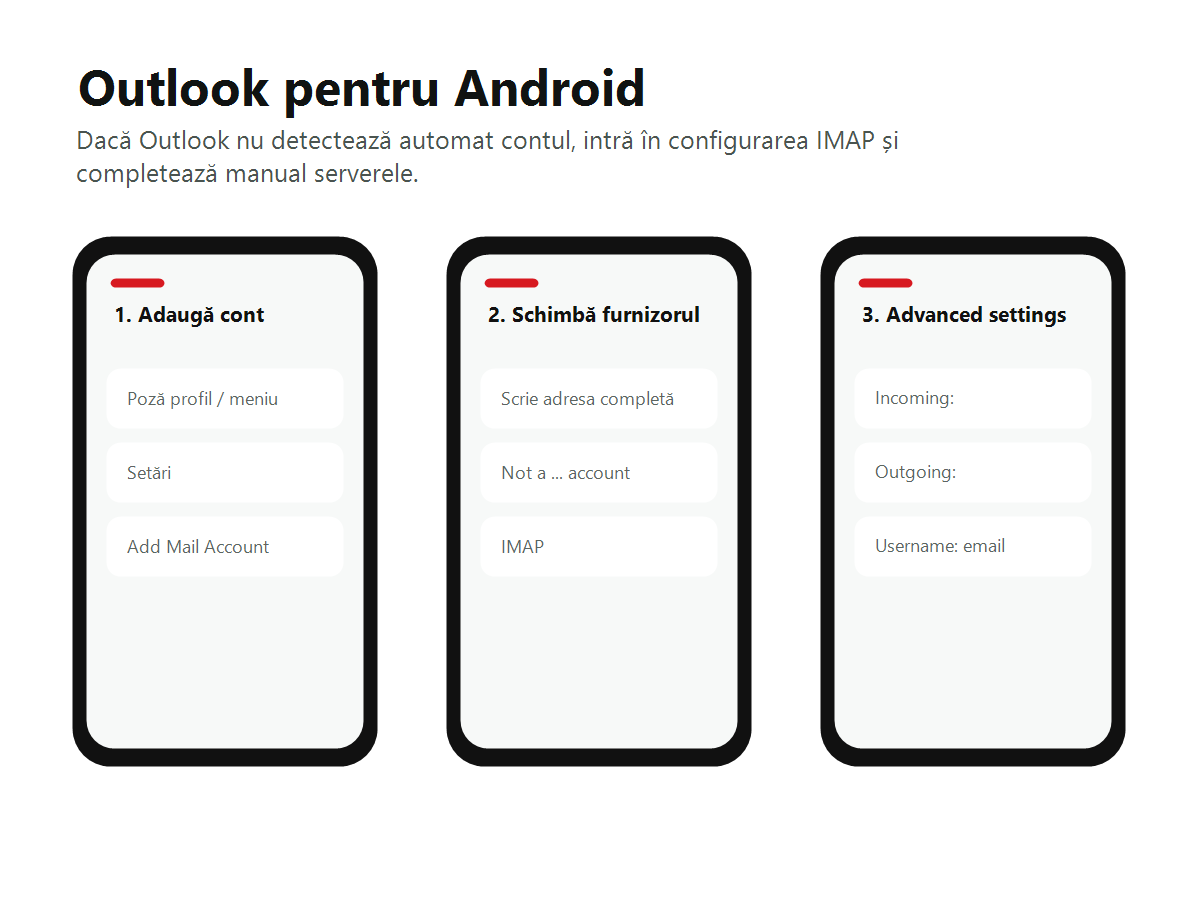
- Open the Outlook app.
- Open the menu, then Settings.
- Choose Add Mail Account, then Add Email Account.
- Enter the full email address and continue.
- If Outlook detects another provider, look for Not a … account, Change account provider or Setup account manually, then select IMAP.
- Enable Advanced settings if the detailed fields are available.
- For the incoming server, enter
mail.your-domain.com:993. If the app has a separate port field, enter the server without the port and put993in the dedicated field. - For the outgoing server, enter
mail.your-domain.com:465. If that does not work, trymail.your-domain.com:587. - Use the full email address as the username for both incoming and outgoing mail. Use the mailbox password in the password field.
- Save the account and check that you can receive and send a test email.
Samsung Email
On Samsung phones, Samsung Email is a good choice for custom accounts because it clearly displays the manual IMAP setup.
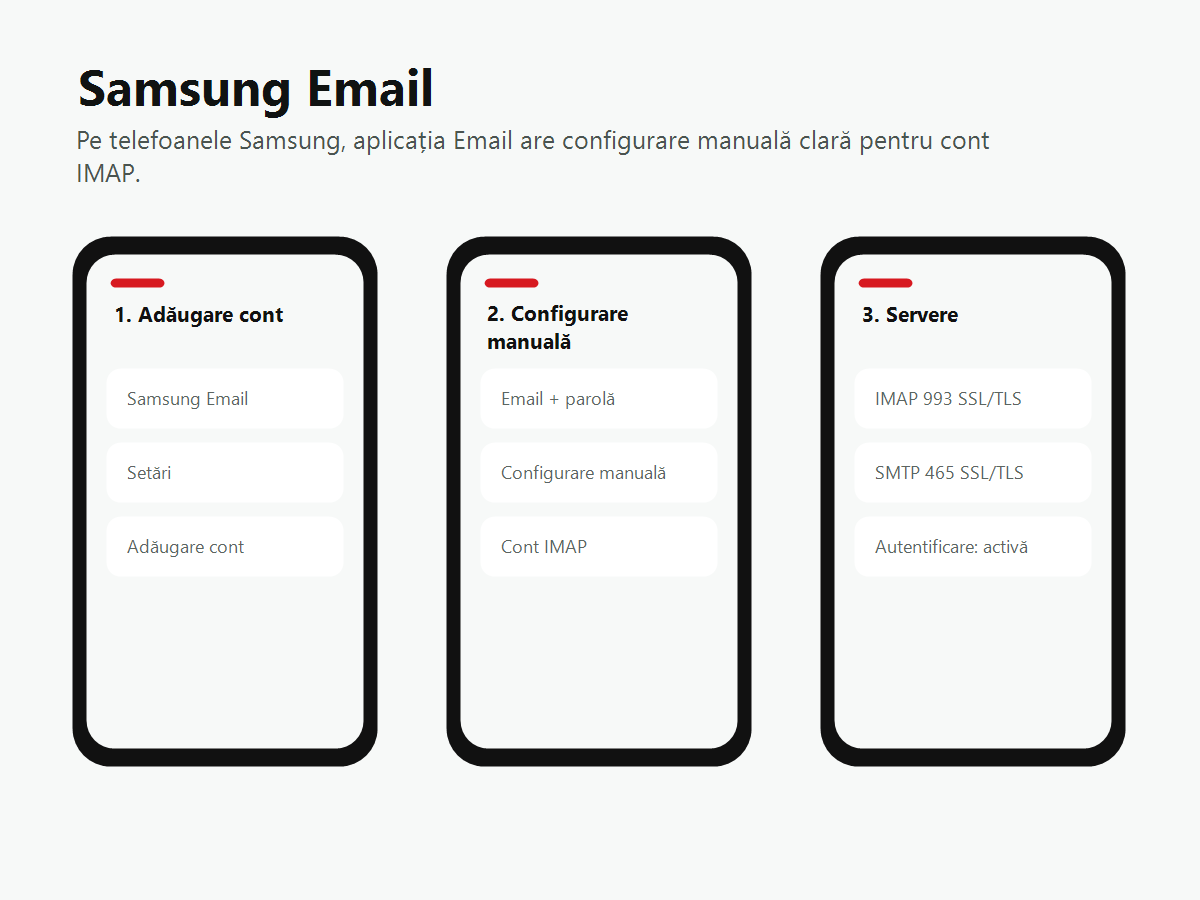
- Open the Samsung Email app.
- If this is the first setup, tap Add account. If you already have an account, open Settings, then Add account.
- Enter the full email address and password.
- Choose Manual setup.
- Select IMAP account.
- For the incoming server, enter
mail.your-domain.com, port993, securitySSL/TLS, username = full address. - For the outgoing server, enter
mail.your-domain.com, port465, securitySSL/TLS. Enable SMTP authentication and use the same full address and password. - Complete the setup, then send a test email to another address.
What to do if you receive an error
- “Username or password incorrect”: check the password in webmail and make sure the username is the full address.
- “Cannot connect to server”: check that the server is entered correctly, without spaces and without
https://. - You can receive email but cannot send it: the issue is usually with SMTP. Check the port, security and SMTP authentication.
- Invalid certificate: use the exact server recommended by the provider. Sometimes
mail.your-domain.commust be replaced with the hosting server's actual name. - You do not see the messages on every device: check that you selected IMAP rather than POP3.
Our recommendation
For a business email address, use IMAP with SSL/TLS and use the same full address as the username everywhere. If you have hosting or maintenance through Web Hat Solutions and do not know the correct server, send us the email address you want to set up and we will tell you exactly what to enter.